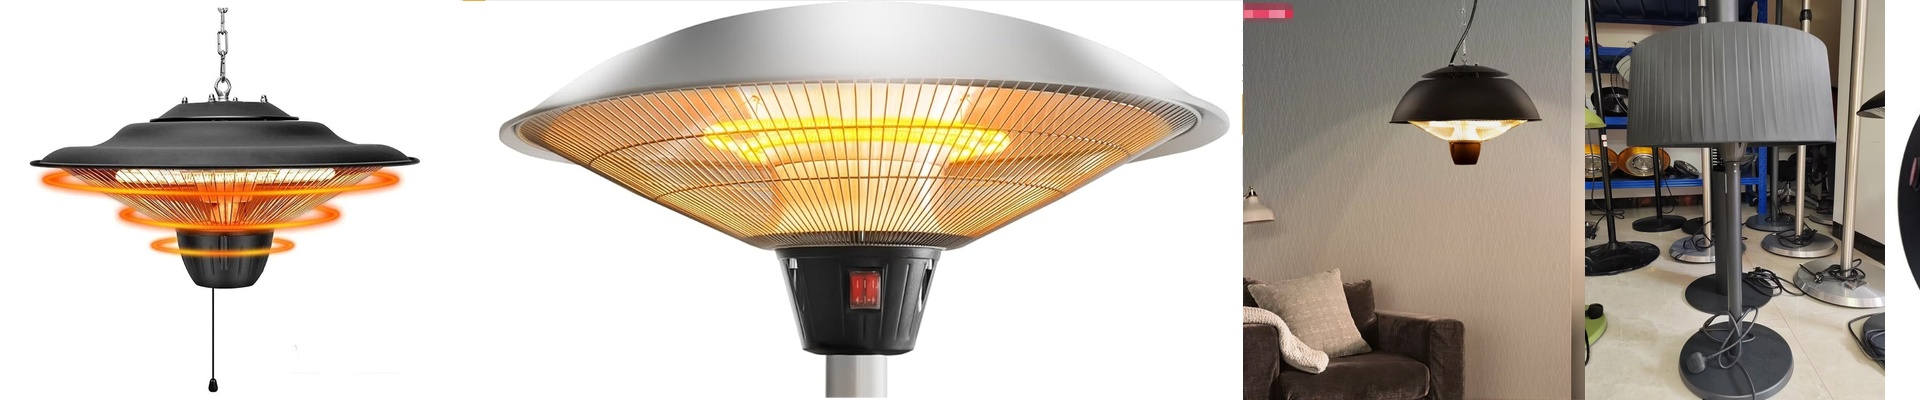
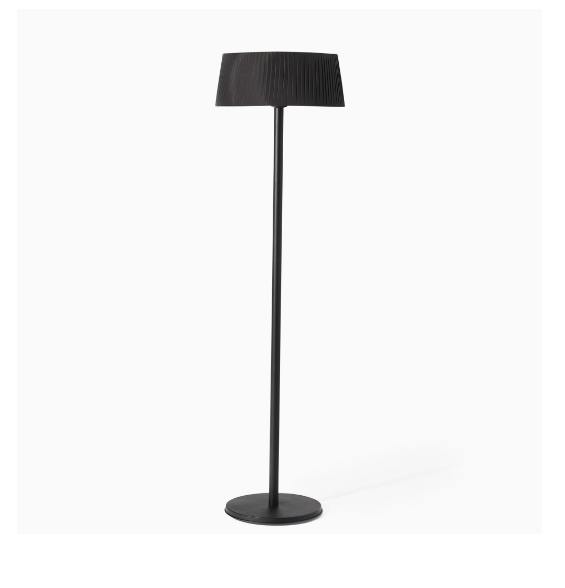
Keeping Your Infrared Heaters Safe in Wet Zones
Putting infrared lamps in a bathroom or under an outdoor pergola feels like a luxury until you remember one thing: water and electricity are a nightmare together. When steam or a random splash hits a live heating element, things get risky. The surface becomes conductive, and if you aren’t careful, that current can jump straight to the chassis. Not exactly the vibe you want when you’re trying to relax.
How we actually stop the leaks
To keep things safe, we obsess over the seals. Most standard quartz tubes have a weak spot at the end caps. That’s where moisture likes to sneak in. To shut that down, we use high-temperature silicone seals or epoxy potting. It basically creates a wall that water just can’t get through. Then there’s the wiring. You can’t just use any old cable. We stick with PTFE or silicone-insulated wires because they don’t crack when they get hot and then cool down. If the insulation splits, you’ve got a problem. Before anything leaves the shop, we run a “high-pot” test. It’s a fancy way of saying we push the insulation to its limit to make sure no current is leaking from the terminal to the frame.
The tricky part: Heat vs. Water
Here’s the catch. If you seal a heater too tightly to keep the water out, you’re also trapping the heat inside. It’s a bit of a tug-of-war. If the unit is completely airtight, the internal temperature spikes, and that halogen filament is going to burn out way faster than it should. It’s all about finding that sweet spot where the unit is sealed enough to be safe, but can still “breathe” enough to stay cool.
A few rules for installation
You can’t just trust the heater to do all the heavy lifting. Always wire it into a GFCI or an RCD. Think of this as your safety net. If a seal ever fails and a leak happens, the breaker trips in a fraction of a second and shuts everything down. And please, ground that metal chassis directly to the building’s earth loop. You don’t want the outer casing becoming live. Just… don’t skip that step.